Let us take a little stroll down memory lane—say, your grandmother's dining room, with its timeless rose-covered walls that have seen more wallpaper patterns than a home decor magazine. Back in the day, wallpapering over existing layers wasn’t just common—it was expected. Why waste a perfectly decent floral base when you could simply add stripes on top? This charming layering habit wasn’t laziness; it was tradition. And believe it or not, it still works today—with a little know-how and a healthy dose of paste.
Yes, it's true, you can wallpaper over old wallpaper layers. But before you charge forth with a brush in one hand and a roll in the other, let’s take a moment to talk about the dos, the don'ts, and the utterly delightful maybes of this time-honored technique.
Why People Have Always Wallpapered Over Wallpaper
Our thrifty ancestors knew a thing or two about making do. Wallpapering over wallpaper saved time, money, and avoided the painstaking process of removing the previous layers—especially if they were stubbornly glued with what could only be described as Victorian super-cement.
Some homes today boast as many as four or five layers of wallpaper, each a relic of decades past. Think of it like wallpaper archeology! Peel back a bit and you may uncover a mid-century mod print beneath a 1980s pastel floral. It's a wall-bound time capsule.

When You Should (and Shouldn’t) Do It
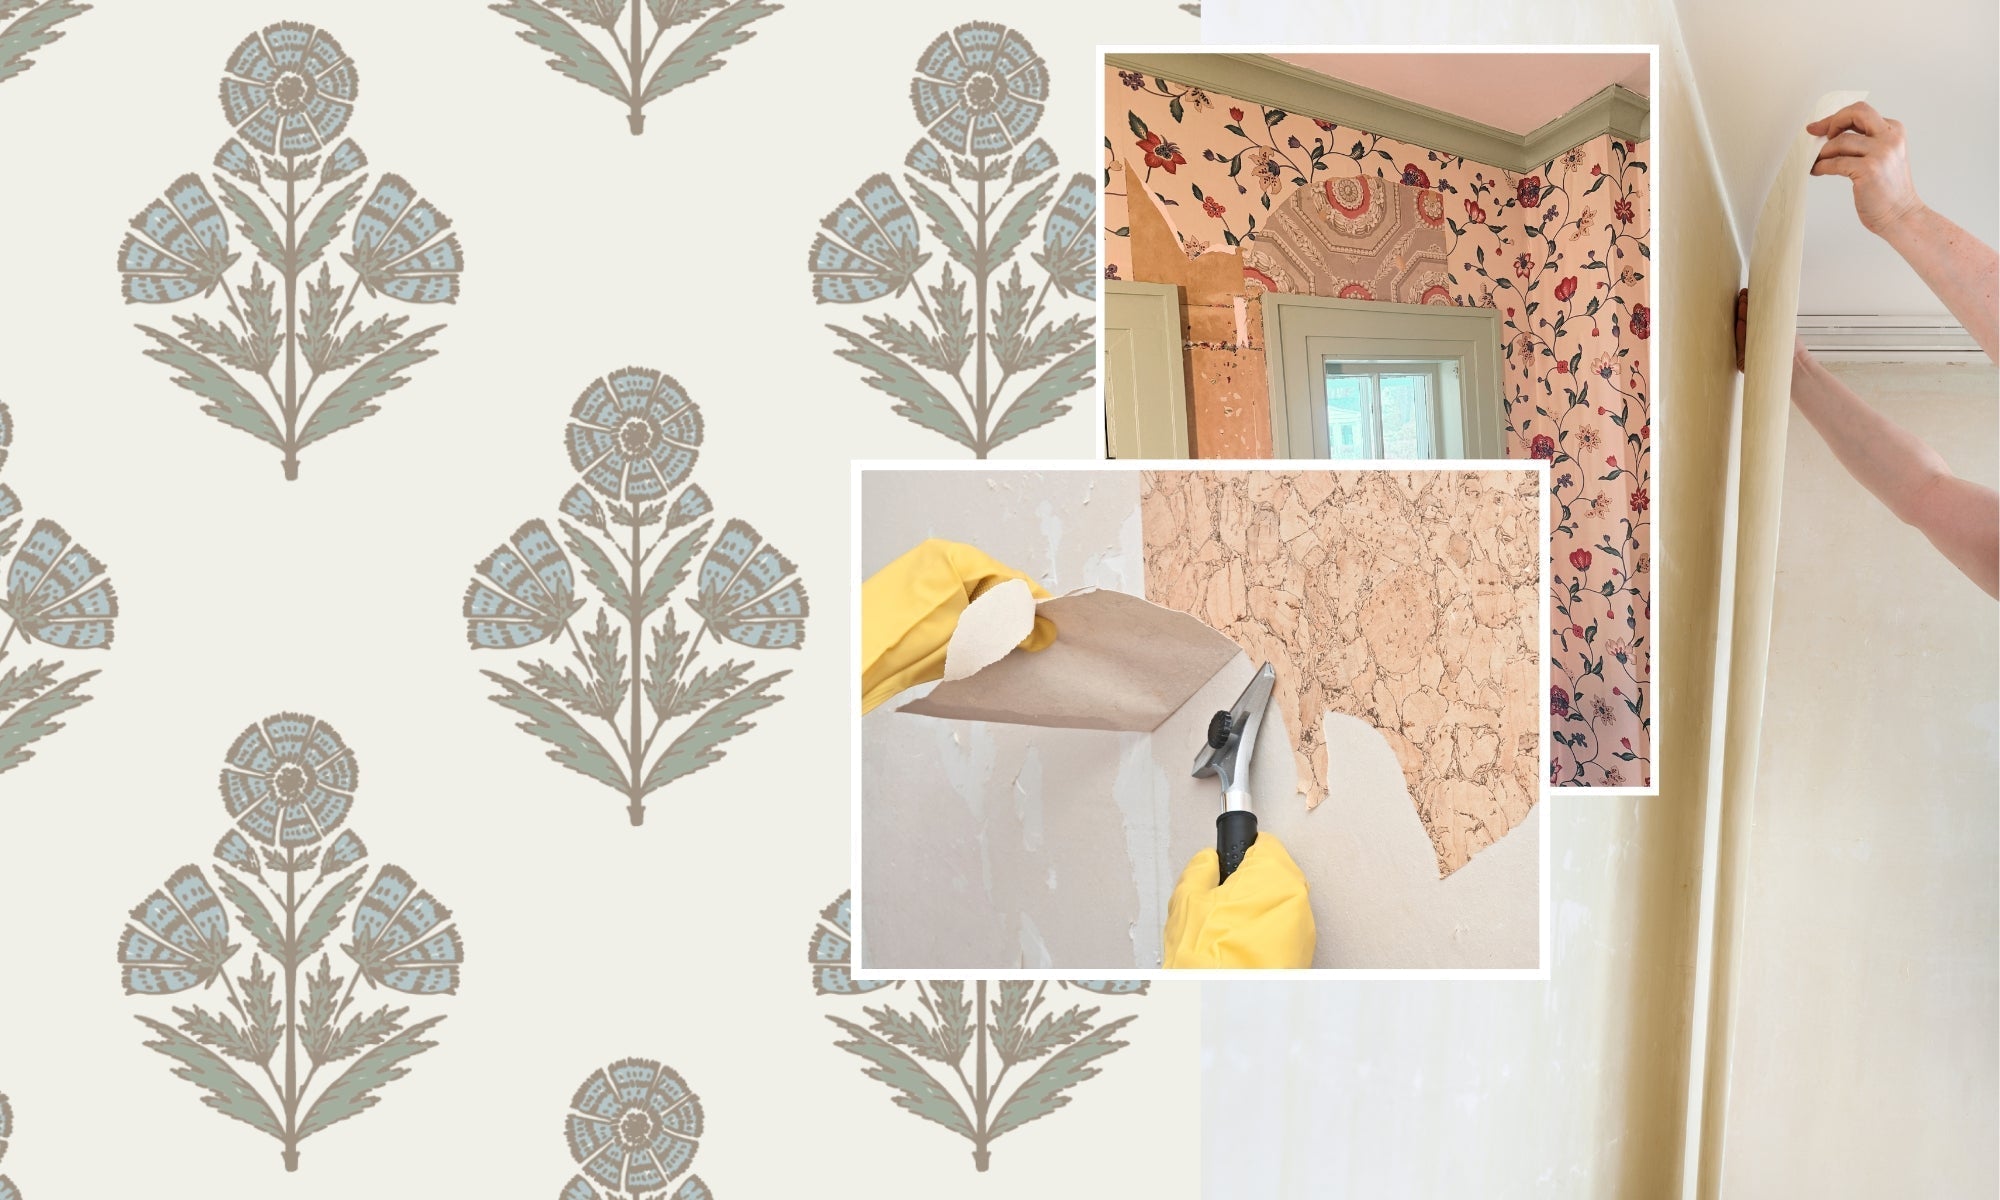
First rule: the existing wallpaper must be in good condition. If it's peeling at the seams, bubbling like a pancake, or stained from years of misadventures, you'll need to do some prep work.
Here’s what to consider:
-
If the old wallpaper is textured or very dark, you may need to apply a thin liner paper over it first.
-
If it's vinyl or glossy, you must sand it lightly to help the new adhesive stick.
-
If you can see seams, consider using joint compound to smooth them out.
What If the Wallpaper Is Loose?
If you tug gently on a seam and it pulls away, it’s time for triage. Grab your wallpaper adhesive (you’ll want a good quality one—Graham & Brown recommends paste-the-wall formulas for ease), and re-secure those edges. A thin layer of adhesive on the wall behind the loose paper, then smoothing it back down with a wallpaper brush or roller, should do the trick.
If entire sections are peeling or sagging like a sad soufflé, it might be best to remove that portion entirely. A putty knife, a spray bottle of warm water, and a little elbow grease usually suffice.
Wallpaper Removal 101 (In Case You Must)
Sometimes it’s unavoidable—you must bid the old paper farewell. Luckily, The Spruce has an excellent guide on wallpaper removal, but here's the shorthand:
-
Score the wallpaper lightly with a wallpaper scoring tool.
-
Spray with a solution of warm water and a few drops of dish soap.
-
Let it soak for 15 minutes, then scrape away with a putty knife.
-
Rinse the wall and let it dry completely before continuing.
How to Wallpaper Over Old Wallpaper (Paste-the-Wall Method)
Once your existing wallpaper is stable and smooth, it’s time for the fun part: applying the new! The paste-the-wall method has become a favorite among DIYers and professionals alike for its ease and tidiness. House Beautiful, among others, sings its praises.
Here’s how to do it:
-
Gather your tools. You’ll need wallpaper paste, a roller or brush, a smoothing tool, a utility knife, a level, and your wallpaper rolls. Optional: a measuring tape and a cheerful playlist.
-
Prep the walls. Give the old wallpaper a gentle clean with a damp cloth to remove dust. If the old wallpaper has a sheen, lightly sand it. Fill any gaps or dents with filler.
-
Measure and mark. Use a level to draw a straight vertical line from ceiling to floor. This will be your guide for the first strip—crucial if you want a pattern that doesn’t look tipsy.
-
Apply paste to the wall. Only paste the section you’re about to cover—this prevents the paste from drying before the paper goes up. Little Greene recommends using a roller for even coverage.
-
Hang the wallpaper. Start at the top, align it with your guide line, and smooth it down with a wallpaper brush or smoother. Be gentle yet firm—like a Victorian nanny.
-
Trim and repeat. Use a sharp utility knife to trim the edges at the top and bottom. Match the pattern for the next strip, slightly overlapping and then double-cutting if necessary.
-
Smooth out bubbles. Work from the center outward. If an air bubble refuses to budge, prick it with a pin and smooth over.
Apartment Therapy offers delightful photo guides for visual learners. We love this wallpaper behind our Brown Stoneware Vase called, "Poppy Sprig (Aqua)" by GP & J Baker. Enhance the vignette by placing candle rings around nearby pillar candles for a cozy, layered ambiance.

Final Thoughts (And a Cup of Tea)
If you’re still feeling hesitant, think of wallpapering over old wallpaper as part of your home's story. You’re not hiding history—you’re enriching it. It’s a bit like putting on a new dress over a perfectly good slip: practical, charming, and if done well, utterly seamless. We have our very own Interior Delights Wallpaper Pinterest Board if you want to see some of our favorites! We're really loving the block prints and gorgeous English Cottage florals!
Just remember: preparation is everything, paste-the-wall is your friend, and loose edges are just opportunities for a little extra love.
For more inspiration and expert guidance, check out these fabulous resources:
Now go forth, brave decorator, and give those walls the fabulous future they deserve. And don’t forget to enjoy the process—perhaps with a biscuit or two in hand.
