So, you've just hoisted up your new shelf, expertly mounted it upon your wall, and now find yourself standing back, scratching your head, pondering, “Now, what on earth do I put on it so it looks its best?” Fear not, fellow shelf-styler! This is where your good friends at Interior Delights come in, ready to share our style secrets. My team and I spend our days immersed in the art of shelf styling at the shop, and we're thrilled to spill all the beans on how to expertly adorn your shelves with your favorite seasonal styles. Whether it's our custom reclaimed floating wood shelves, our sleek metal one-piece wonders, or something already nestled in your home, we're confident you'll find ample inspiration with our easy-to-follow tips.
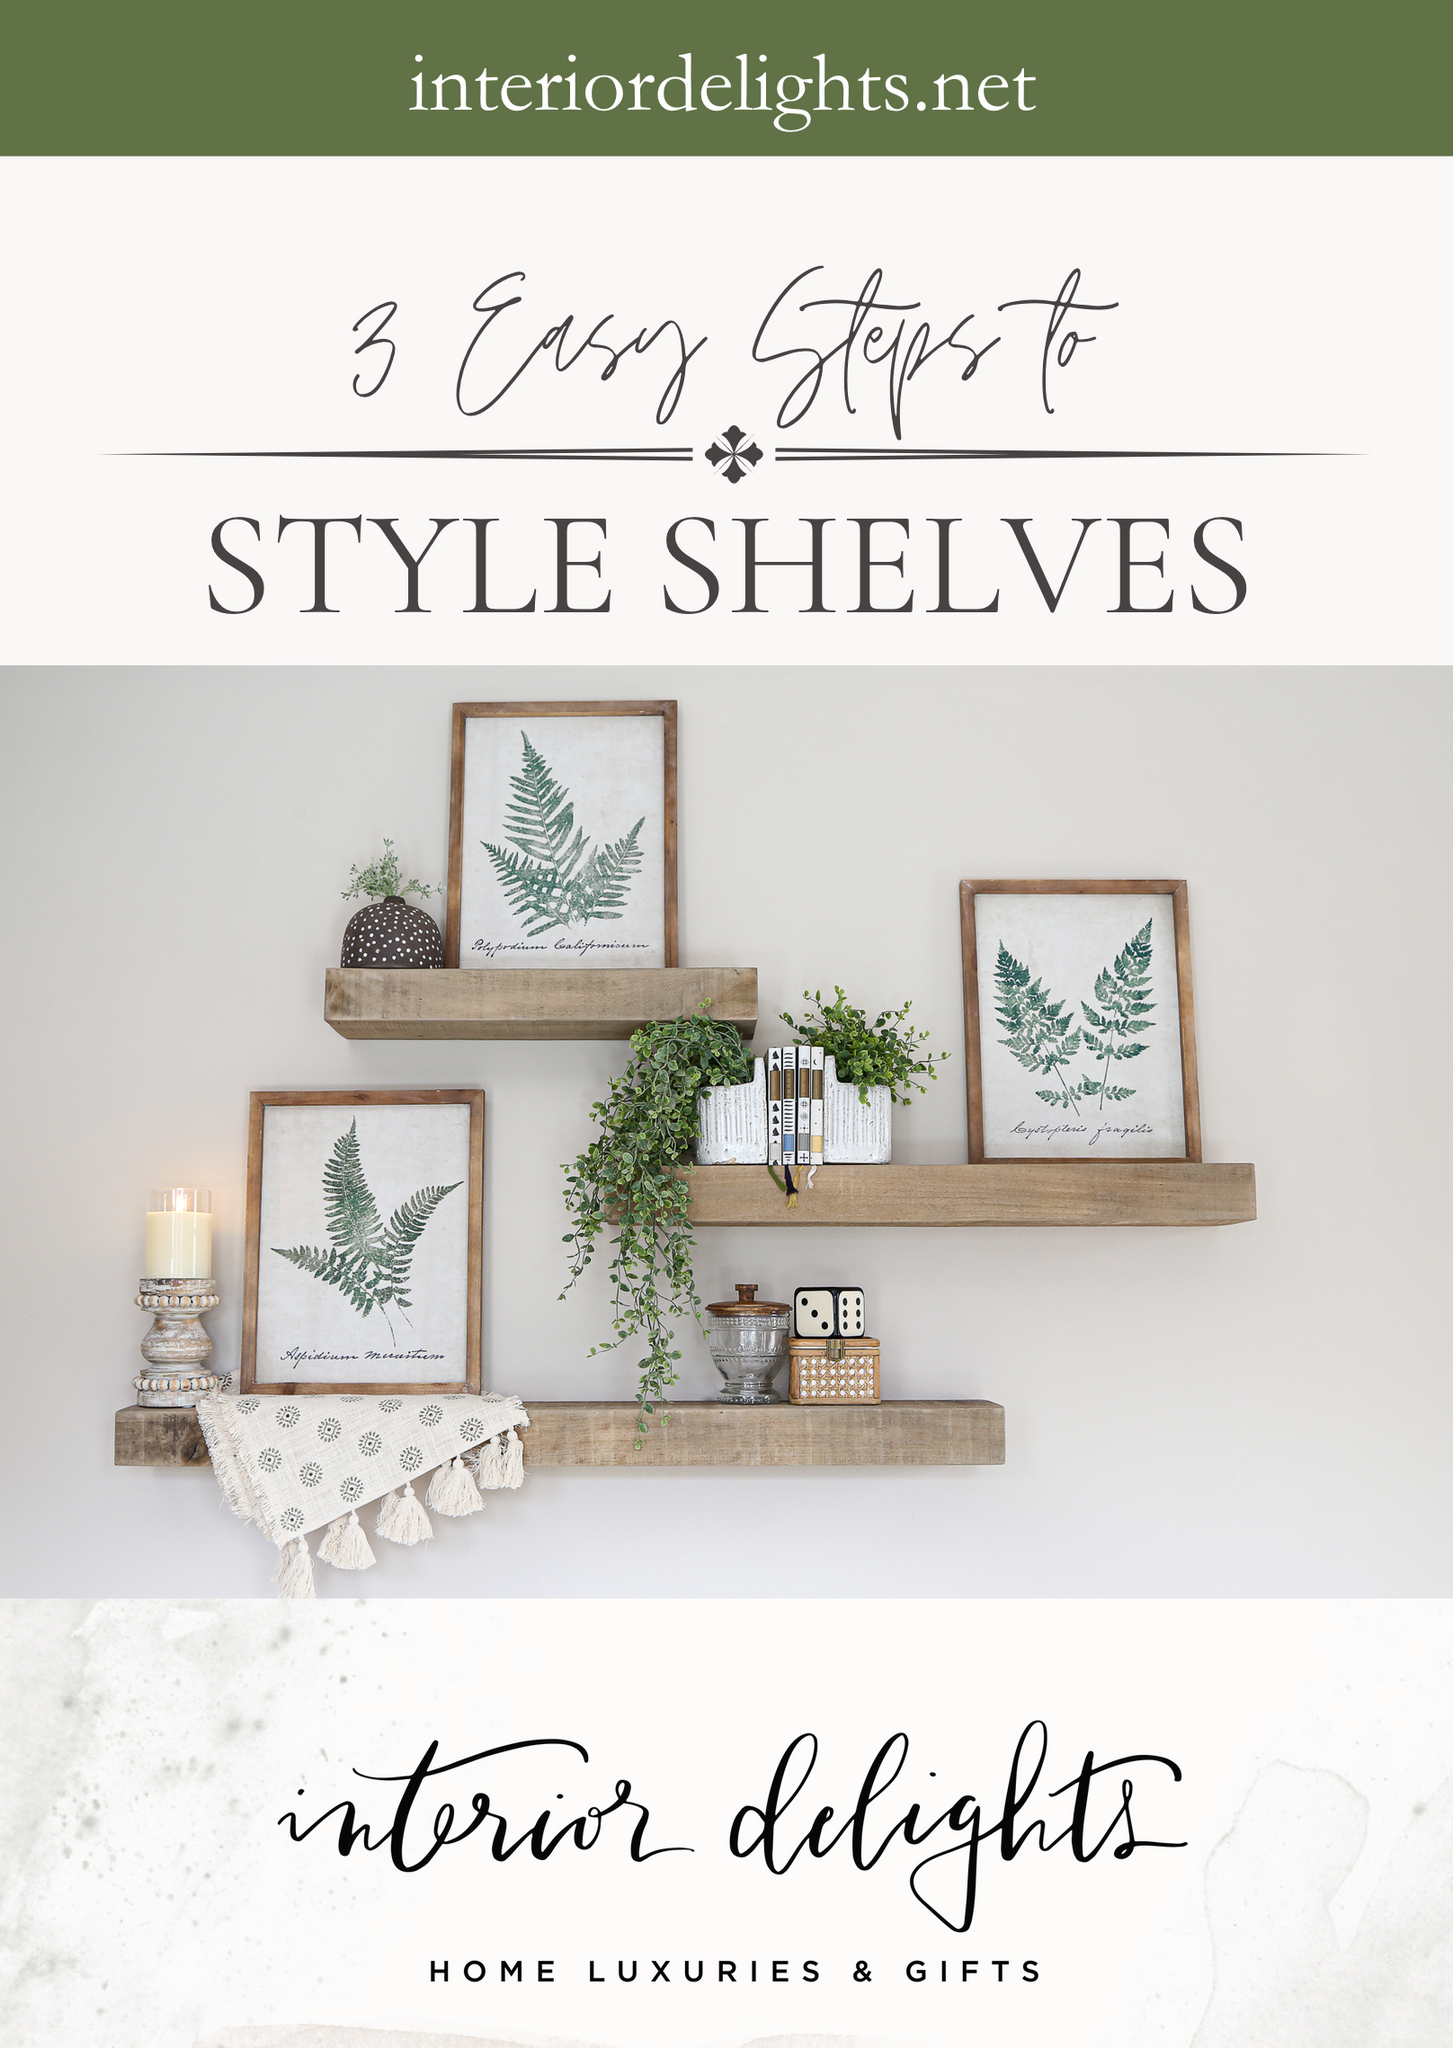
In the photo, you can see I’m styling our custom built reclaimed floating shelves and have selected a few styling items that are all currently in stock in our online shop. Linked for you right here: Set of 3 Fern Canvas Wall Art, Speckled Vase, Laguna Pocket Bookend, Rattan Boxes, Ivory Die, Beaded Candlestick. I just love the versatility of styling shelves and how I can create a fresh look on a whim. Ready for our top secret styling tip? For styling ease, all you have to remember when decorating is.... the number 3. I'll explain in the next few super simple steps!
Step 1: Begin with empty shelves. Group all your home decor into three categories: Tallest, Medium Height, and Small. Ensure that each item complements the room's color scheme and matches the desired aesthetic. As you survey your bare shelves, envision the optimal placement for height on each shelf. If your shelves are staggered, let the tallest objects occupy the prime positions to fill the gaps naturally.

Step 2: Start with 3! Round up your three tallest items first. Think framed art prints, vases overflowing with faux blooms, or elegant candle tapers. Let these towering treasures claim the spotlight on your shelves. Now, create a vignette around each tall object by layering it with a group of approximately three items. Layer something of medium stature and a small curio either in front of, behind, beneath, or beside your tall object. And remember, variety is the spice of shelf life, so don't hesitate to mix things up. Ensure that each color is well-dispersed throughout the shelves to add balance. Aim for that sweet spot where your shelf is about 30% empty, leaving plenty of breathing room for each vignette to shine like the star it is. You can see how in this photo, all of my decor can fit on one shelf. If your items could all technically fit on one-third shelves, that is a good sign that you have utilized this rule of thumb.
Step 3: Take a step back and behold your creation. Aim for a trio of delights: something that glows (cue the flameless candles), a splash of greenery, and a sprinkle of curiosities—tiny treasures that add detail. Keep adding embellishments to your shelves, preferably in clusters of three because, well, we're sticking with the theme here. And don't fret if you go overboard at first. It's all part of the creative process. Some low-draping items can tie two vignettes together perfectly if you have a spot that looks sparse. Now, snap a photo, evaluate the situation, and begin removing items until you achieve that serene balance that pleases your eye. If you swoon and hear a symphonic melody, that is a good sign indeed.

Remember, dear friends, the joy lies in the ever-changing and endless possibilities of shelf styling. Embrace the fun of switching up the items and colors on your shelves, allowing your space to evolve alongside your favorite trends and personal goals throughout the year. Let each new arrangement be a delightful exploration of your creativity and style. Happy styling!